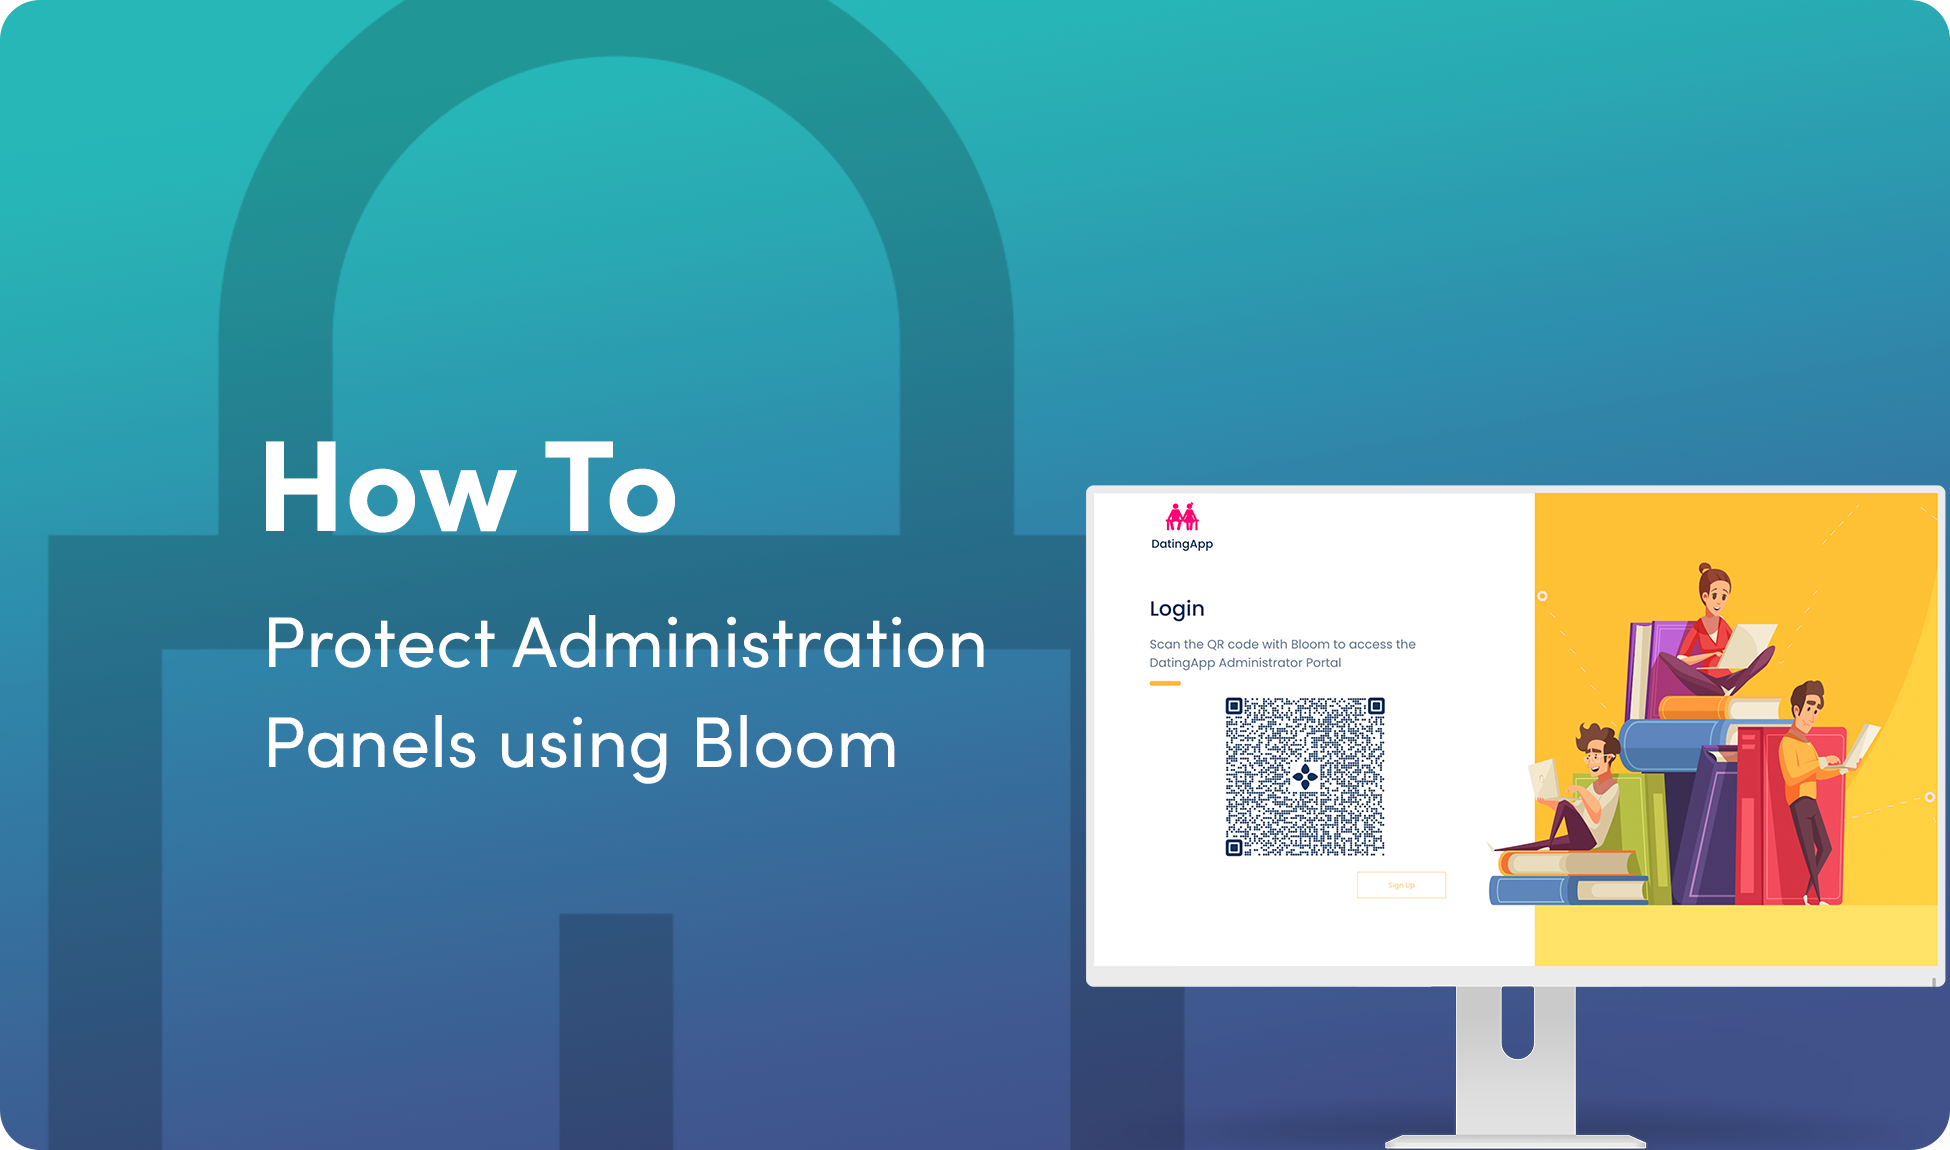
How To Protect Administration Panels and Dashboards with Bloom

As far as tech industry standards go, it has been a slow burn finding out exactly how 130 Verified Twitter Accounts, and thousands of unverified accounts, came to suddenly begin promoting fake charities or Bitcoin giveaways last month. Piece by piece security experts have gleaned information directly from hackers, found tidbits on the dark web, and learned more from Twitter - the company has been updating their blog post about the incident almost every day since it was first posted on July 18, 2020.
However, this type of hack can happen to any company that has an administration panel or dashboard for their app that’s protected by a username and password. Even taking the time and effort to fully integrate back end systems, enable two-factor authentication, and take other precautionary measures can still lead to a similar breach thanks to clever social engineering tricks and hacks that have become increasingly common.
One way to really lock down your administration panel, possibly the best method as of today, is to use a decentralized identity platform for authentication. For example, faking a BloomID is almost impossible -- only one BloomID can be created using an email address, it’s secured by a private key that cannot be duplicated or spoofed, and accessing the accompanying Bloom app requires physical access to someone’s iOS or Android device, or taking full control of their Apple ID or Google account and restoring everything to a new device, which would cause multiple emails and alarms to go off for the affected party. Your Apple ID has been used to sign in to a new device! Your Google account has a new device associated with it! It’s kind of hard to ignore, and the most security conscious of us have locked down our wireless carrier and Apple/Google accounts, leaving only the usernames and passwords we use left to secure, or rather abandon passwords entirely, which is a movement already supported across all the most popular platforms but not implemented widely.
So how do you lock down your administration panel, ensuring your God Mode or Super Admin mode is only accessed by those who are truly authorized to have it? Let’s dive in.
Server Side
We’re not going to use anything like Verify Kit this time, there’s no need. All we want to do is ensure that the person trying to access the administration panel has the appropriate rights, and that can be correlated by the email address they share via Bloom’s mobile app to an existing database that contains role-based access control permissions and rights.
We will assume you have a back end that can handle some JavaScript in the form of an Express-based app, or that can be passed a payload from an Express library. This is largely true for many administration apps since JavaScript is so flexible.
Let’s Use Bloom Starter for Auth
There are two parts to the Bloom Starter app; the server-side (Express) and client-side (React).
Getting Started
First we’re going to start the Express server, start ngrok to proxy the Express server so that the mobile app can POST share-kit data to the url, and then start the React app.
Follow these steps to make it happen:
- Run
git clone https://github.com/hellobloom/bloom-starter.git - And then
cd bloom-starter/bloom-starter-auth - Then run
npm run deps(this installs any dependencies for both the server and client) - Before starting up the dev server, you will need a .env file with these variables set:
PORTNODE_ENV, andSESSION_SECRET
Please see the .env.sample file in the repository for an example of where your .env should be located, and what it should look like. There’s no need to go in blind.
And finally run npm run dev.
If all went well, and the REACT_APP_SERVER_URL env var is set to the ngrok url, then we can move on to the client.
Time for the Client Setup
Share Kit is the front end library needed to generate a data sharing request.
Since the administration app is a web app, we can continue leveraging the same Bloom Starter repository.
For this demonstration, we don’t need much. The only Verifiable Credential we’re going to use is email, which we can tie back to our existing database to ensure it’s someone that should have access to the admin panel.
You can use the Share Kit demo to generate the code needed to place the QR code on the login page. For the DatingApp administration panel login, we end up with:
import React from 'react'
import {RequestElement, Action} from '@bloomprotocol/share-kit-react'

const requestData = {
  action: Action.attestation,
  token: 'e1b865a6-7eb6-4347-9a03-e1e6342ef85e',
  org_name: 'DatingApp Admin',
  url: 'https://receive-kit.datingapp.co/api/receive',
  org_logo_url: 'https://datingapp.co/images/DatingApp-Logo.png',
  org_usage_policy_url: 'https://datingapp.co/legal/terms',
  org_privacy_policy_url: 'https://datingapp.co/legal/privacy',
  types: ['email']
}

const MyComponent: React.SFC = props => (
  <RequestElement
    requestData={requestData}
    buttonCallbackUrl="https://datingapp.co/admin?token=e1b865a6-7eb6-4347-9a03-e1e6342ef85e"
    qrOptions={{
      size: 256,
      hideLogo: false,
      fgColor: '#16325b'
    }}
  />
)
That token above is unique to your app. It is not a token provided by Bloom. You choose your own token as a unique identifier for your app, allowing you to distinguish data sharing requests from multiple sources. This also ensures you are receiving data from your app, and not someone else’s.
Also note that the Action in this request, unlike others, is Action.authentication. This ensures that Verify Kit knows that...
Once we have placed that on the login view, it should render like this:
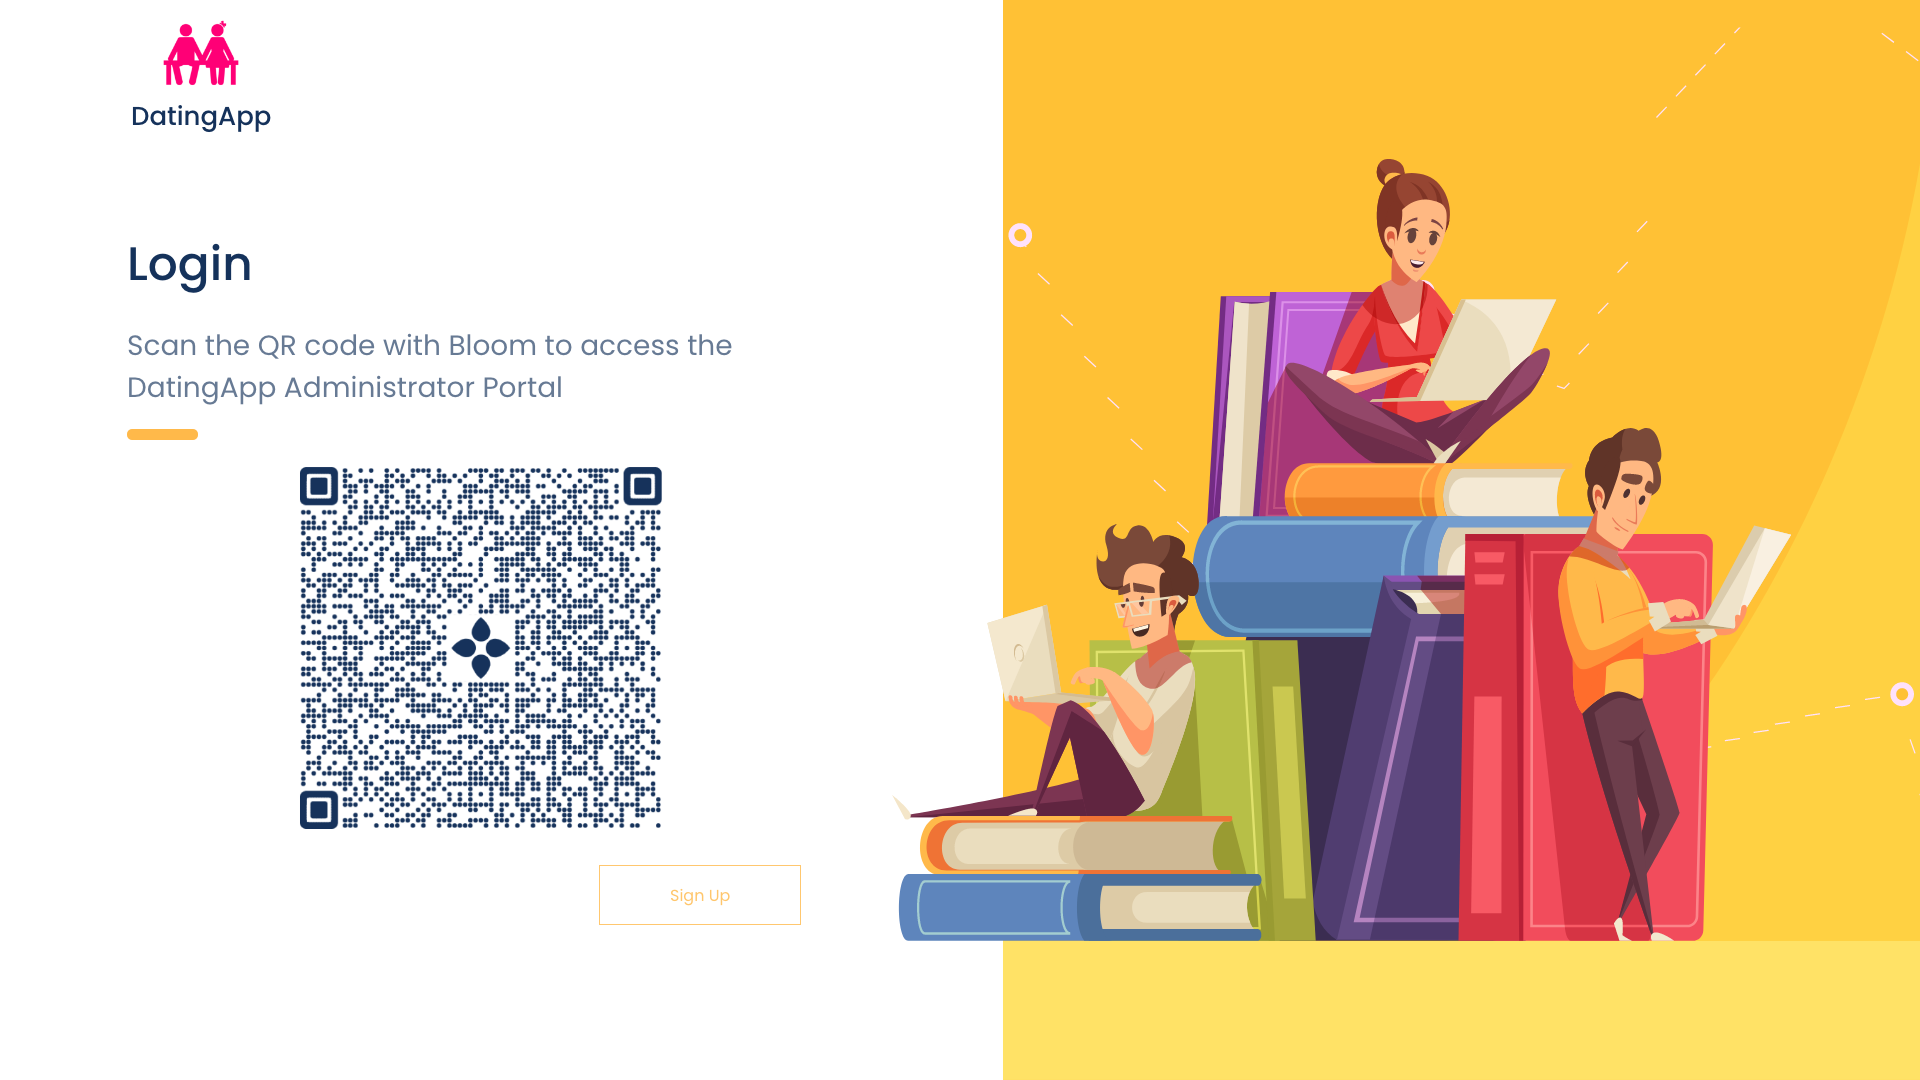
After scanning the QR code using Bloom's mobile app, this is what you would see:
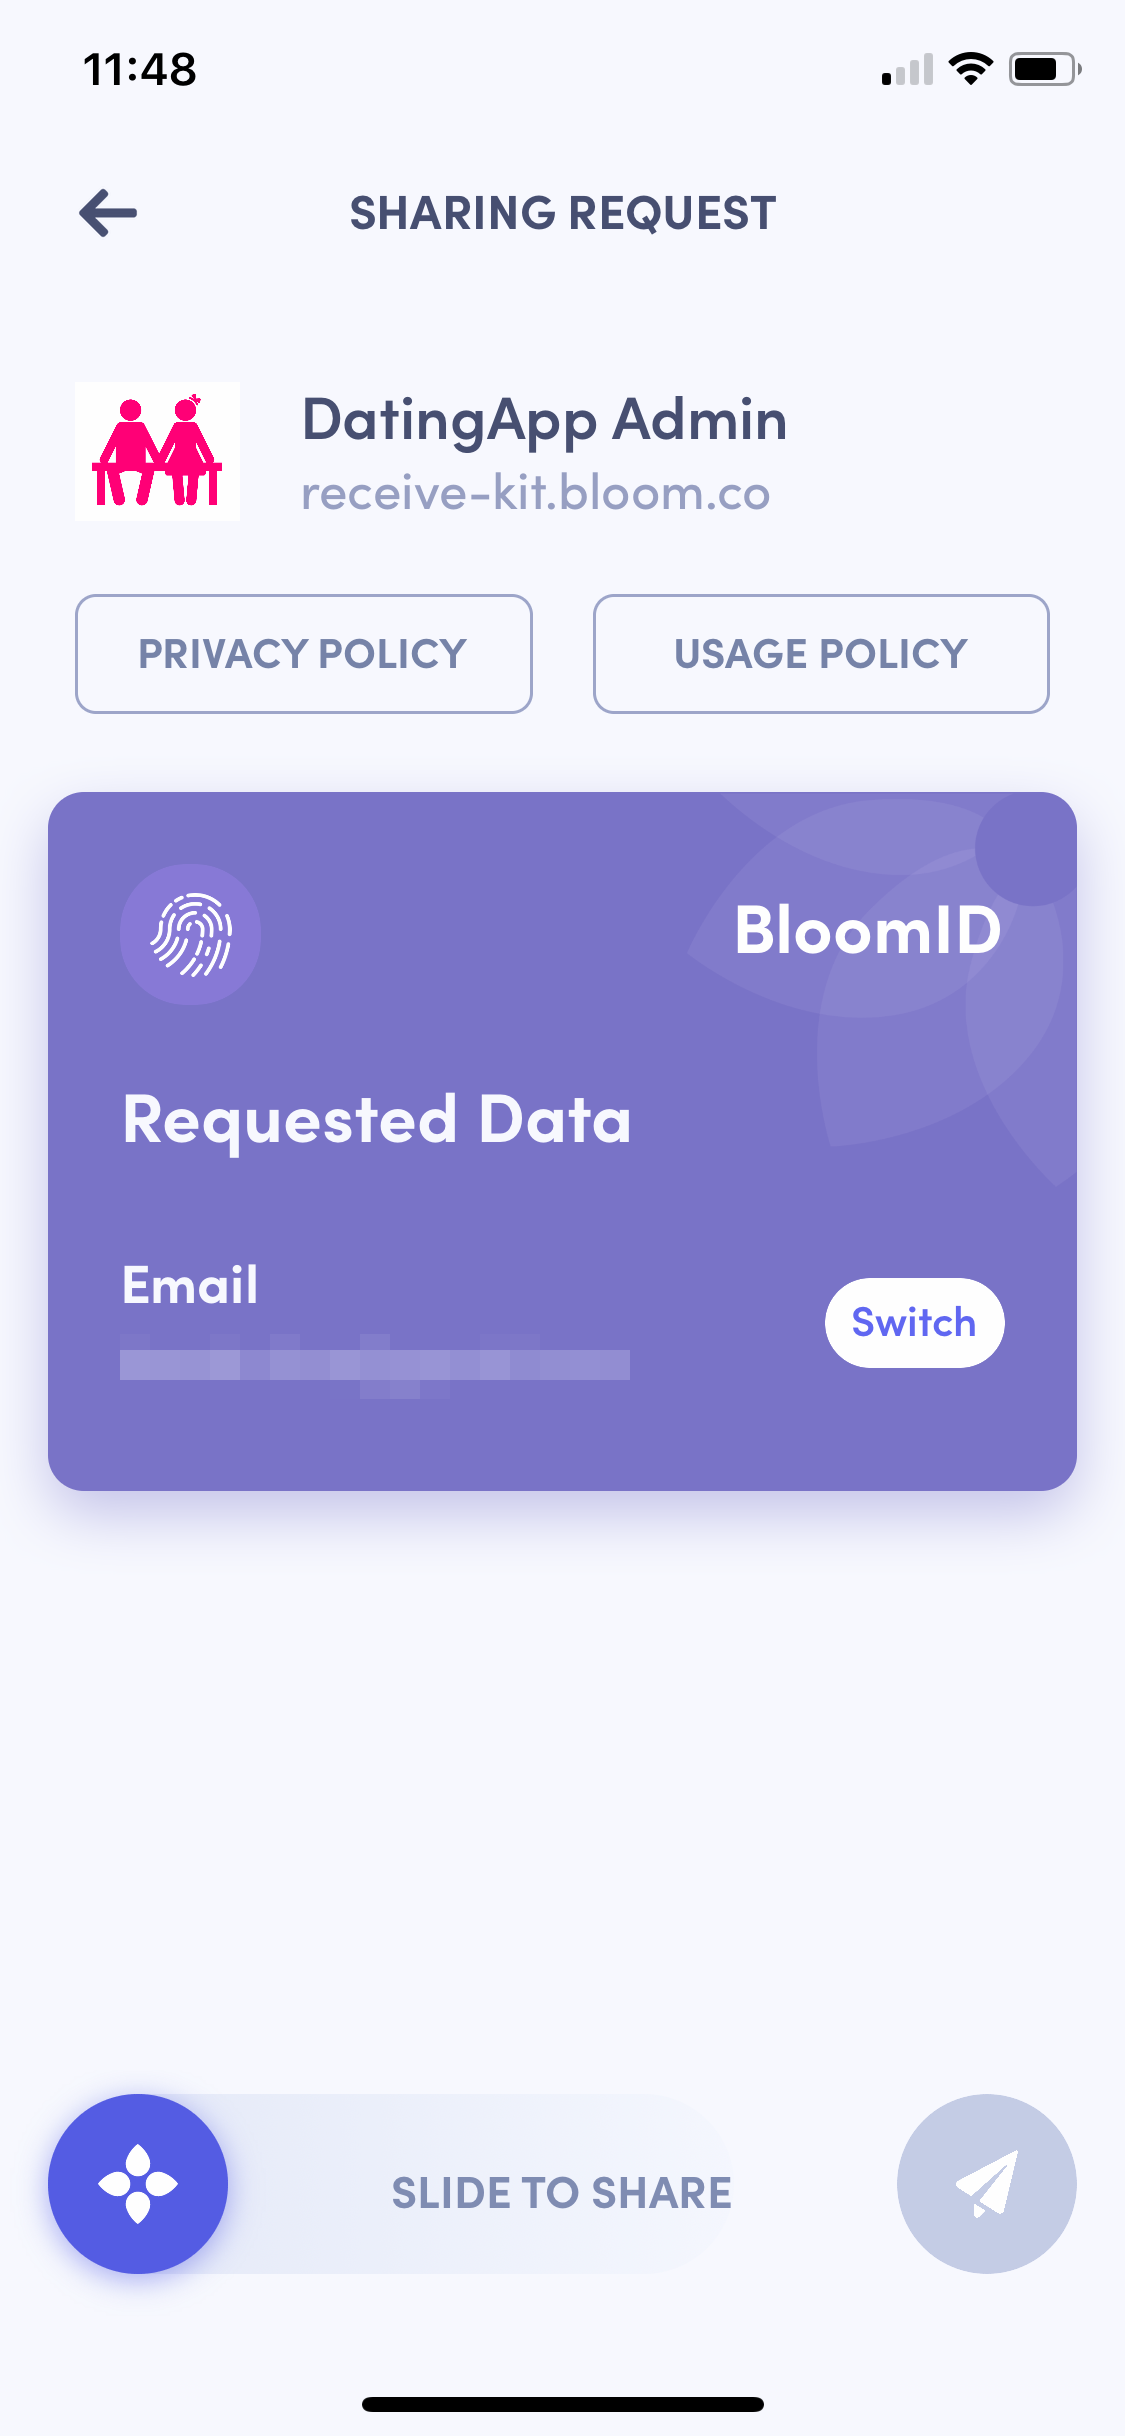
Completing the ‘Slide to Share’ action will share the data with your Verify Kit instance, allowing you to ingest the data and verify it against your database. Assuming it’s successful, you can let the user in to the admin panel!
Your employees can use Bloom’s mobile app to log in to your administration panel instead of using a username and password.
To really beef up the security here, and ensure it is the same person with the same device (or a new device where they have restored a backup) each time, you could also ask for the following Verifiable Credentials:
phoneemaillinkedinfull-namebirth-datesanction-screenpep-screen
Of course we don’t want to recommend you intrude into your staff’s personal lives, but you must consider the sensitivity of the data and the power the administration app they are accessing grants them. This is also all data you likely know about your employees already, and therefore you can verify the data received via Bloom.
This is just one of the many use cases where you can use Bloom’s open source technology to enhance trust and security within your own internal platforms while maintaining data security. Verify the data provided, delete it from your Verify Kit service, and allow your compliance and security teams to rest assured they have taken a concrete step towards better internal controls.
More Resources:
- Bloom Starter GitHub Repository
- Share Kit Documentation
- Share Kit Attestation Types
- Verify Kit Documentation
- Verify Kit GitHub Repository
Bloom: Your Data, Your Credit, Your Privacy
At Bloom, we are giving you the tools to take back control of your data all in one simple app. No more centralized data storage. No more selling off your data to the highest bidder. Bloom enables you to own, control, and protect your data using the latest advancements in blockchain technology.
It’s time to take back control of your data and unlock the power of a secure identity today. Download the Bloom mobile app to build a digital identity, monitor your credit, and get free data breach alerts with Radar!
